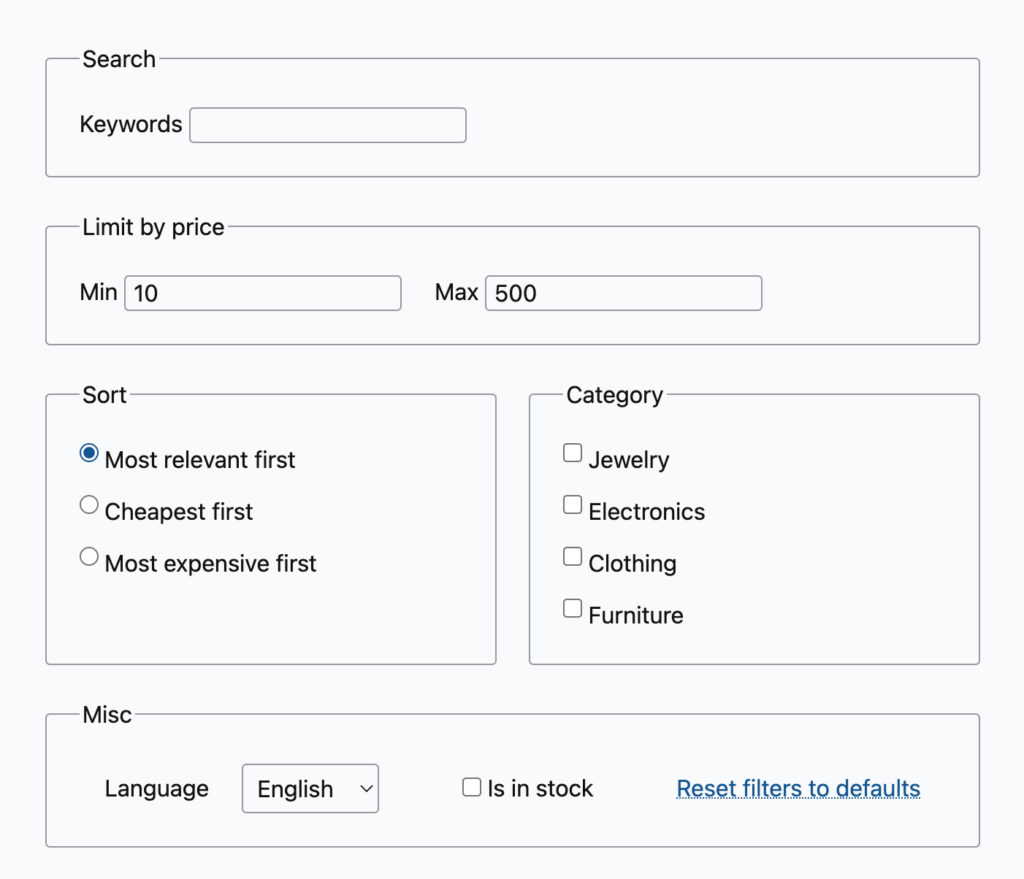
In the Building E-Commerce Search article we looked on how Findkit can be used to implement the common use cases for e-commerce search like filtering based on the price and stock availability among full text searching. In the article we just used imaginary e-commerce site but lets now look at in practice how we can expose the product data from WooCommerce to the Findkit Index, how to load Findkit UI library using that data and to add items to the shopping cart directly from the search results.
Exposing Product Data from WooCommerce
The product data must be exposed using the Findkit Meta Tag but since WooCommerce is based on WordPress we can leverage the WordPress Findkit plugin which allows us to use simple WordPress filter to add additional data to the Meta Tag
add_filter('findkit_page_meta', 'findkit_woo_page_meta', 10, 2);

function findkit_woo_page_meta($meta, $post) {
	$product = wc_get_product($post->ID);

	if (!$product) {
		return $meta;
	}

	$meta['customFields']['productPrice'] = [
		'type' => 'number',
		'value' =>  $product->get_price(),
	];

   return $meta;
}
In the filter we just use the wc_get_product() function to detect WooCommerce products and add custom price field when we encounter once. We can also add description, image and product id:
$meta['customFields']['productId'] = [
    'type' => 'number',
    'value' =>  $post->ID,
];

$meta['customFields']['productDescription'] = [
	'type' => 'keyword',
	'value' =>  $product->get_short_description(),
];

$image_id  = $product->get_image_id();
$meta['customFields']['productImageURL'] = [
	'type' => 'keyword',
	'value' =>  wp_get_attachment_url($image_id),
];
See the WC_Product class api docs for details.
Testing Changes Locally
You can now check with a local test crawl that the product data is exposed correctly as Custom Fields using the Findkit CLI
$ findkit crawl test --local-http https://www.example.local/products/2

HTTP Status: 200
Crawl Status: ok
Message:
URL: https://www.example.local/products/2
Title: The Product
Language: en
Tags: wordpress, domain/www.example.local, wp_post_type/product
Created: 2022-12-01T09:37:32.000Z
Modified: 2023-11-10T11:30:48.000Z
Custom fields:
    productPrice [number]: 38
    productImageURL [keyword]: https://www.example.local/wp-content/uploads/2021/06/the-product-600x471.jpg
    productId [keyword]: 184650
    productDescription [keyword]: Short product description
If everything looks good, deploy the changes to production and run Findkit Full Crawl to expose the product data to the Index
findkit crawl startIncluding the Findkit UI Library
First we need to register a custom script to WordPress. In your theme add findkit-woo/findkit-woo.js with
import { FindkitUI } from "https://cdn.www.findkit.com/ui/v0.15.0/esm/index.js"; and in the functions.php file register it
add_action('wp_enqueue_scripts', 'findkit_woo_register_script');
function findkit_woo_register_script() {
	wp_register_script('findkit-woo', get_template_directory_uri() . '/findkit-woo/findkit-woo.js', [], '1.0.0', true);
	wp_enqueue_script('findkit-woo');
}
Since FindkitUI is exposed as a module script we need to convert the script tag to use type=module attribute so we can import the Findkit UI library
add_filter('script_loader_tag', 'findkit_woo_make_module_script', 10, 2);
function findkit_woo_make_module_script($tag, $handle) {
	if ($handle === 'findkit-woo') {
		return str_replace("type='text/javascript'", "type='module'", $tag);
	}

	return $tag;
}
Alternatively you can also install the Findkit UI library from npm if you have a bundling setup in your theme.
Implementing the Search Interface
Now we can implement the search interface. We start by removing the search terms limit so the products can be browsed without entering any search terms and by limiting the results to the products with the price custom field:
const ui = new FindkitUI({
  publicToken: "<token>",
  minTerms: 0,
  params: {
    filter: {
      productPrice: { $exists: true },
    },
  },
});

// Open the search from the search button, but we could
// also embed it into a div element with the
// `container` constructor option
ui.openFrom("button.search");
Let’s modify the Hit slot to display our custom fields by creating a custom Hit component.
import {
	FindkitUI,
	html
} from "https://cdn.www.findkit.com/ui/v0.15.0/esm/index.js";

function Hit(props) {
  const { TitleLink, Highlight } = props.parts;
  const price = props.hit.customFields.productPrice?.value;
  const description = props.hit.customFields.productDescription;
  const image = props.hit.customFields.productImageURL?.value;
  const productId = props.hit.customFields.productId?.value;


  return html`
    <${TitleLink} />

    ${image && html` <img class="product-image" src=${image} /> `}

    <!-- Show highlight only when the user has searched for
         something, otherwise fallback to showing the description -->
    ${props.hit.highlight
      ? html` <${Highlight} /> `
      : html` <div class="product-description">${description}</div> `}

    <div class="product-price">Price: ${price}</div>
  `;
}
and pass it to the slots in the FindkitUI constructor
const ui = new FindkitUI({
    // ...
    slots: { Hit }
Adding to Cart from the Search Results
As a bonus we can add “Add to Cart” functionality directly to the search results so users won’t even need to navigate to the product pages. To add products to the WooCommerce cart we need a helper function:
async function addToCart(productId) {
  if (typeof wc_add_to_cart_params === "undefined") {
    console.error(
      "the wc_add_to_cart_params global is undefined, cannot add to cart",
    );
    return;
  }

  const data = new FormData();
  data.append("product_id", productId);

  const res = await fetch(
    wc_add_to_cart_params.wc_ajax_url.replace("%%endpoint%%", "add_to_cart"),
    {
      method: "POST",
      body: data,
    },
  );

  if (!res.ok || res.status !== 200) {
    throw new Error("Failed to add to cart");
  }

  const resData = await res.json();

  if (resData.error) {
    throw new Error("Failed to add to cart");
  }
}
and a component which calls it on a button click:
import {
	FindkitUI,
	html,
	preact,
} from "https://cdn.www.findkit.com/ui/v0.15.0/esm/index.js";

const { useState } = preact;

function AddToCart(props) {
  const { productId } = props;
  const [status, setStatus] = useState("initial");

  const onClick = async () => {
    if (status !== "initial") {
      return;
    }

    setStatus("adding");

    try {
      await addToCart(productId);
      setStatus("added");
    } catch {
      setStatus("error");
    }
  };

  if (status === "error") {
    return html` <div class="error">Failed to add to cart</div> `;
  }

  if (status === "added") {
    return html`
      <div>
        Added to cart.
        <a href=${wc_add_to_cart_params.cart_url}>View cart.</a>
      </div>
    `;
  }

  return html`
    <button
      class="add-to-cart"
      disabled=${status !== "initial"}
      type="button"
      onClick=${onClick}
    >
      ${status === "initial" ? "Add to Cart" : "Adding..."}
    </button>
  `;
}
Add add the the AddToCart component to the Hit component
function Hit(props) {
  // ...
  const productId = props.hit.customFields.productId?.value;

  return html`
    <!-- ... -->
    <div class="product-price">Price: ${price}</div>
    <${AddToCart} productId=${productId} />
  `;
}
To put everything together with extended comments checkout this git repository:
In the next article in this series we will look how this can be implemented as a Gutenberg Block with @wordpress/scripts bundling so it can be placed visually anywhere on the site using the WordPress full site editing capabilities.


